
After deciding upon a final wing template I cut out many sets to use for my bees.

Creating the template for the Queen bee from a birds eye view, made sure that she was larger than the worker bee and that the wings were in proportion to the bee.

Cut her out and used the stencil on my inked papers in order to get the correct shapes.

Crinkle cut scissors were brilliant for make the stripes for my bee.

Just had to scalpel away the edges
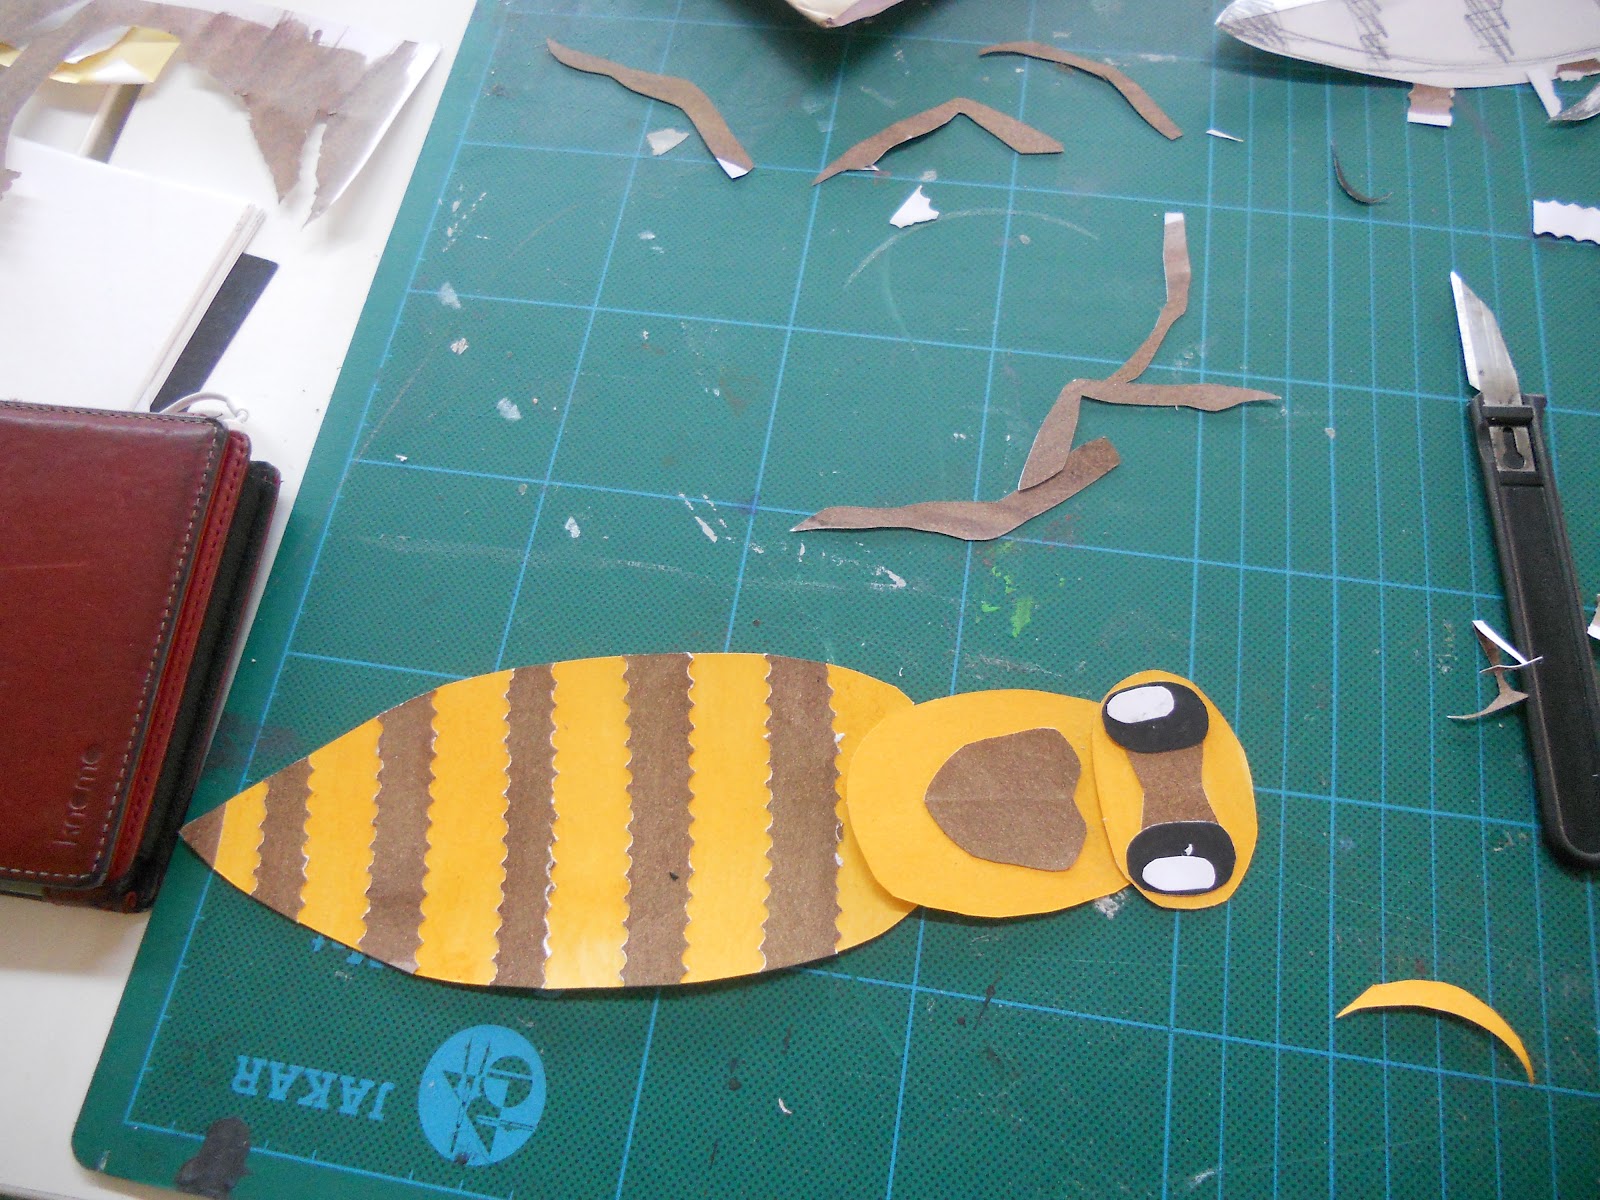
Three sections made, head, thorax and abdomen. I gave the queen bee a different coloured head to the worker and drone bee in order to make her more distinguishable.

In order to keep the pieces together I stitched them, however I still anted them to be moveable so I used masking tape to cover the ends of the thread.

The finished Queen

A closer look at all the taped sections

Creating a template for a birds eye view worker bee. She is slightly smaller than the Queen. I used the same leg stencils from the Queen bee for the worker.


The completed worker bee.

Two worker bees and the Queen

A final drone bee. He is bulkier than the worker bee and has a different back marking and one less stripe to differentiate from the worker bee.
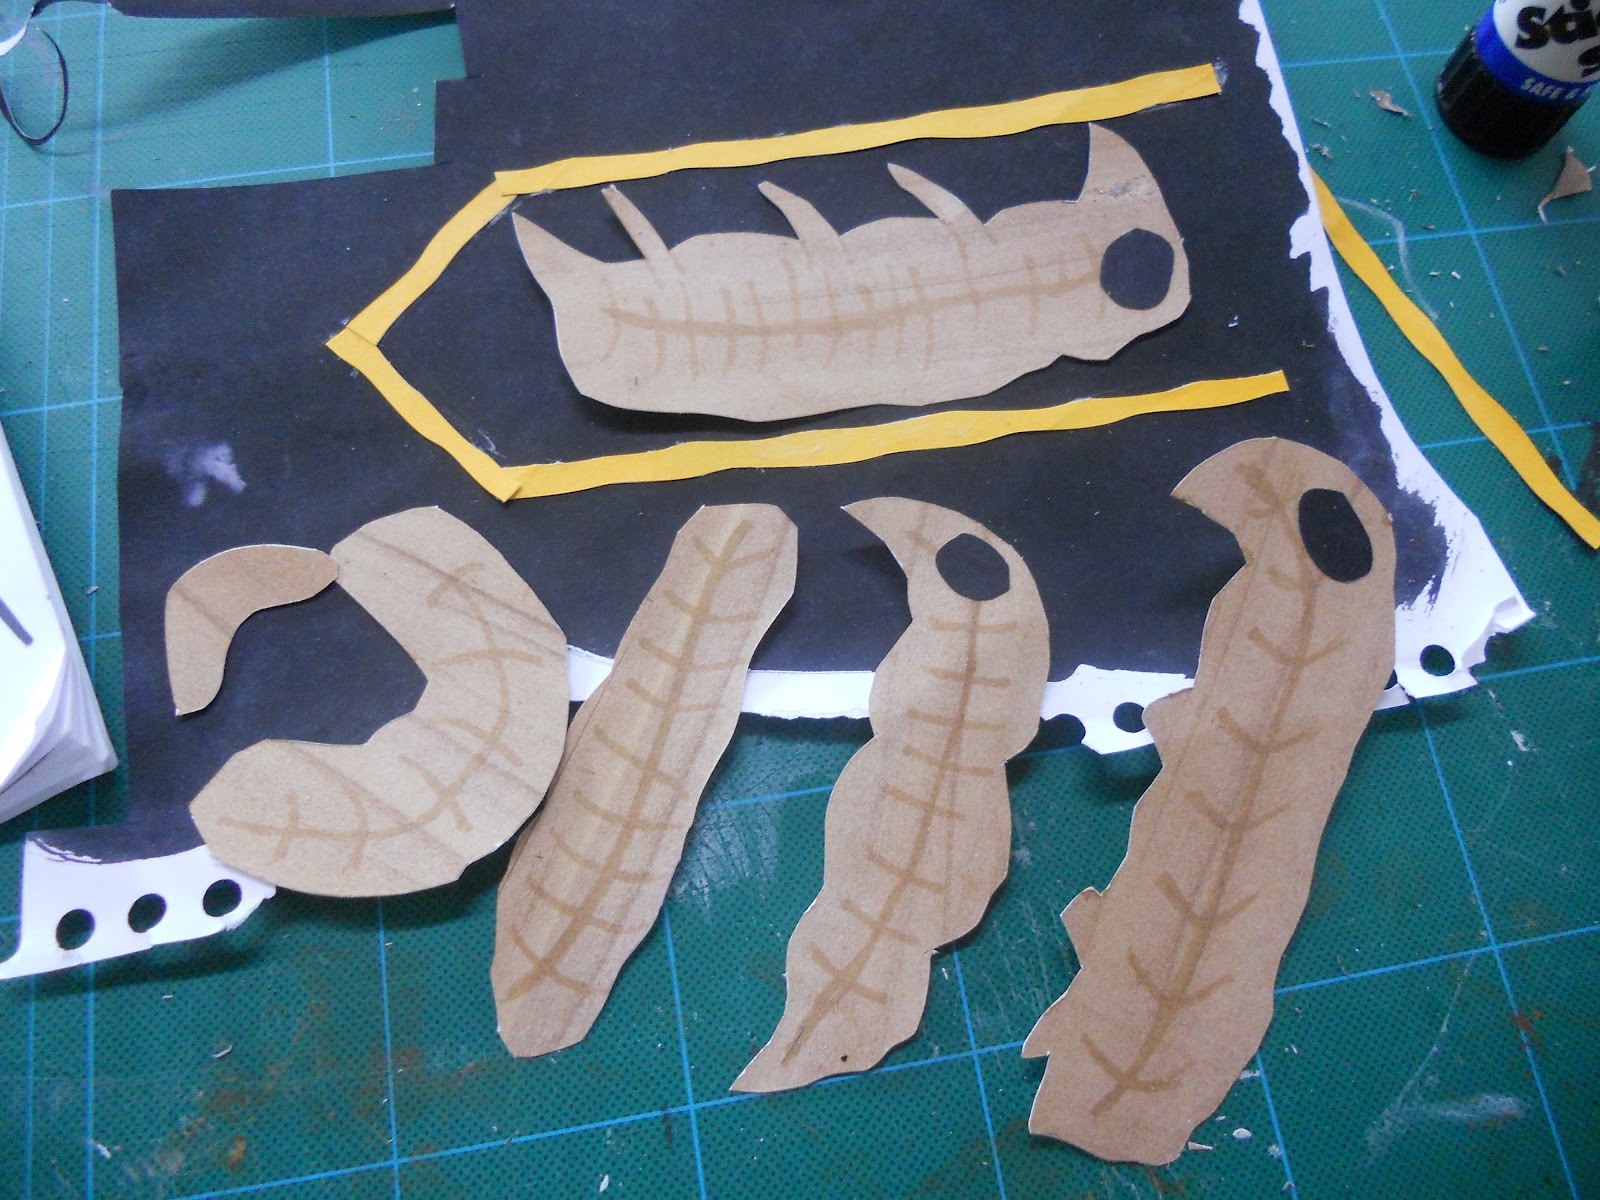
Egg, larvae and pupae stages inside a cell. For demonstrating the development from egg to full grown bee.
No comments:
Post a Comment